- Home
- Photography
- How to Sharpen a Photo
How To Sharpen A Photo Using Photoshop and Lightroom
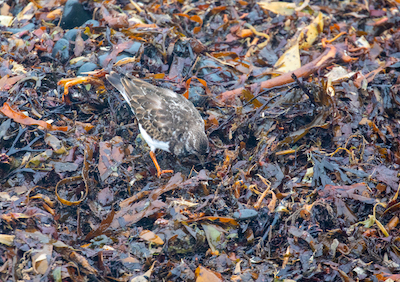
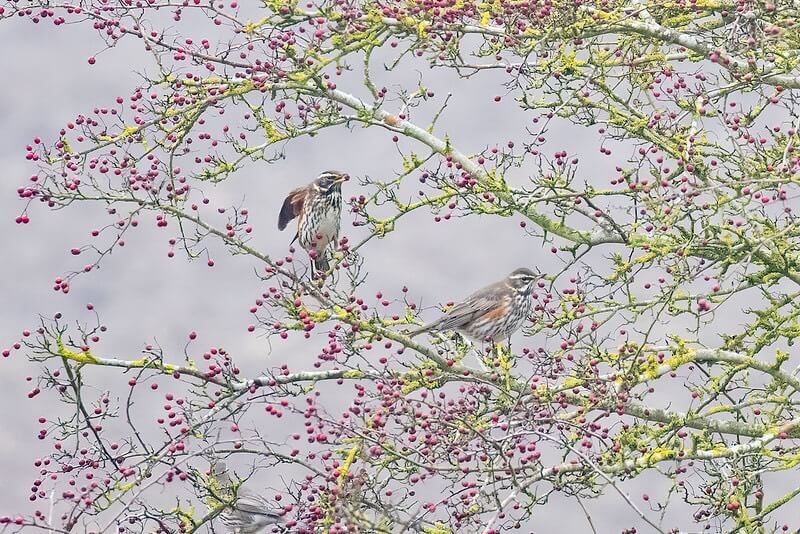
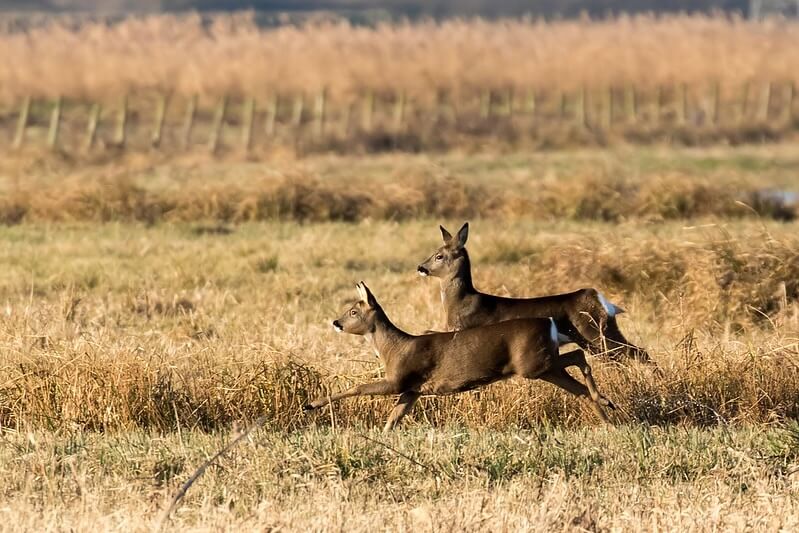
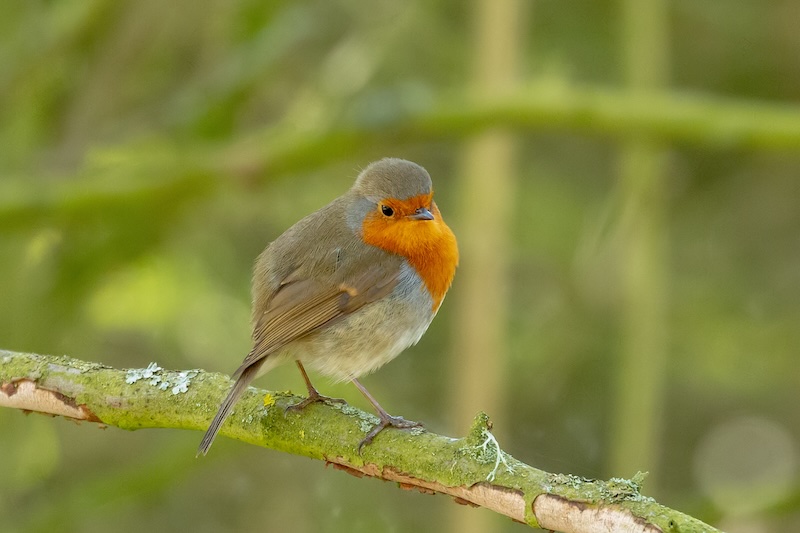
Wildlife photography is challenging, especially when capturing fast-moving animals.
Motion blur affects many shots, but photo editing software like Adobe Photoshop, Lightroom, and Topaz Sharpen AI can help restore detail and clarity to blurry images.
This guide covers sharpening techniques for wildlife photos, from birds in flight to running animals.
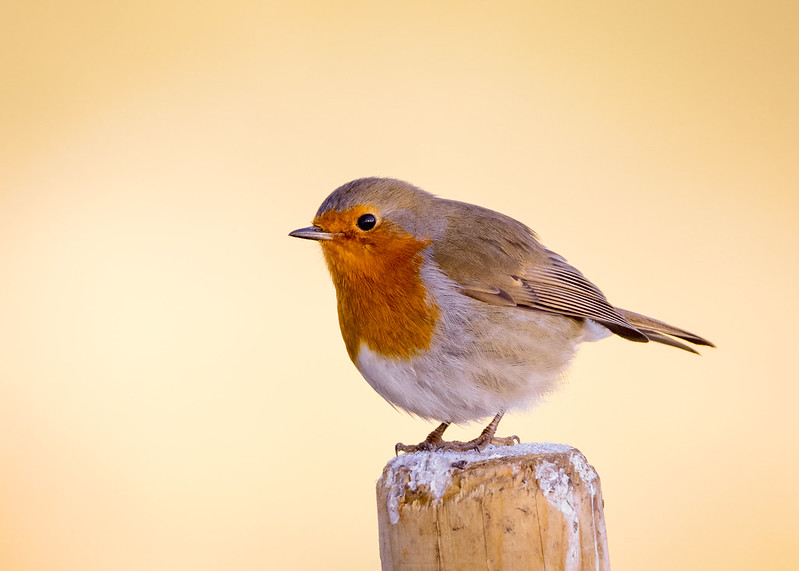
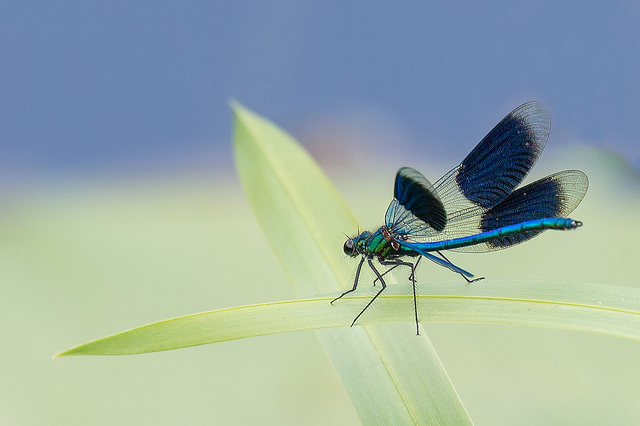
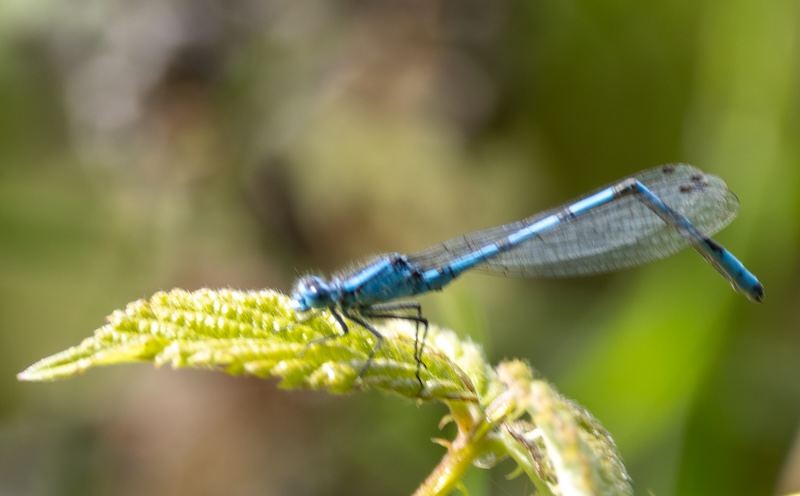
Try moving the vertical line in the image above to see a before and after sharpened photo.
Understanding Motion Blur in Wildlife Photography
What Causes Motion Blur?
Motion blur happens when there’s movement between your subject and the camera during exposure.
In wildlife photography, this is tricky—whether you’re photographing a bird soaring through the sky or a mammal on the run, the combination of speed, distance, and unpredictable lighting often leads to blurred images.
But with a few expert techniques, you can turn those soft edges into crisp, sharp details.
Common Scenarios
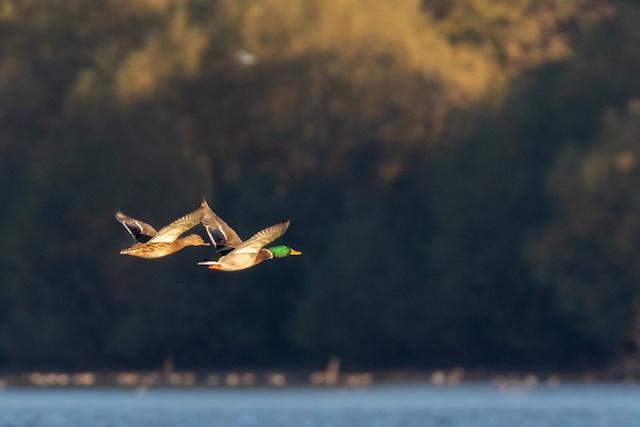
- Birds in Flight: Fast wing movement combined with a moving camera can lead to significant motion blur.
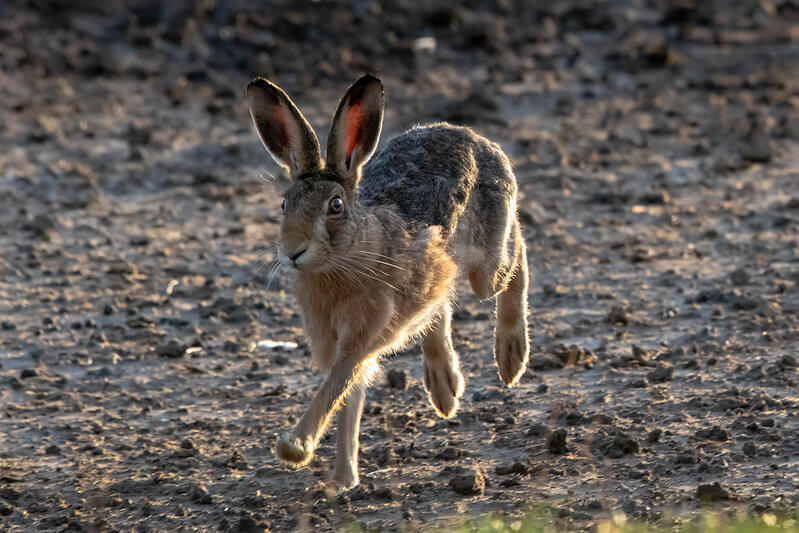
- Animals in Motion: Quick, unpredictable movements during a chase can make it difficult to capture a sharp image.
- Low Light Conditions: Many wildlife shots are taken in low light, increasing exposure time and the likelihood of blur.
Tip: Experiment with before-and-after sliders in your editing software to visualise the difference sharpening makes. It helps you clearly see how sharpening impacts the clarity of your images.
Sharpening Techniques by Skill Level
Whether you're just starting with wildlife photography or you're a seasoned pro, these sharpening techniques will help you edit your photos to get sharper, more detailed images.
For Beginners: If you’re new to sharpening photos, start with the basics in Lightroom. The Detail panel and Masking slider are great tools to help you selectively sharpen your subject while keeping the background smooth.
For Intermediate Users: Once you're comfortable with basic sharpening, explore Photoshop’s Smart Sharpen filter. This tool provides more control over edge sharpening and is excellent for handling fur, feathers, and other delicate textures in wildlife photography. Try experimenting with layer masking to apply sharpening only where it’s needed most.
For Advanced Users: If you’re looking to push the boundaries of post-processing, consider using Topaz Sharpen AI. This powerful AI tool can correct both motion blur and focus issues in your photos. For complex edits, combine this with non-destructive editing in Photoshop, using Smart Objects to keep your workflow flexible.
Photoshop Techniques for Sharpening Motion Blur
Photoshop offers powerful tools to reduce motion blur and sharpen your images without losing natural textures.
Here are some techniques that will help you bring back the details in your wildlife shots:
Smart Sharpen Filter with Lens Blur:
 I dragged the sliders further than necessary here, to make it easier to show the difference in the screenshot
Photoshop’s Smart Sharpen filter is perfect for targeting edges without adding unwanted noise.
The Lens Blur option is particularly effective because it focuses on sharpening your subject’s edges—such as fur, feathers, or eyes—while keeping the background smooth and free of distracting artefacts.
How To Use Smart Sharpen:
- Convert your image to a Smart Object via the Layers palette to ensure non-destructive editing.
- Go to Filter > Sharpen > Smart Sharpen.
- Choose Lens Blur from the Remove dropdown menu.
- Adjust the sliders carefully to enhance sharpness without over-processing your image.
- Use layer masking to selectively sharpen your subject while leaving the background soft.
Advanced Plugins: Topaz Sharpen AI
 The same wren photo with motion blur corrected in Sharpen AI
If you’re looking for a powerful AI-powered tool, Topaz Sharpen AI is a good choice.
It uses machine learning to detect both motion blur and focus issues in your image and applies sharpening where it’s needed most. This is especially useful when you’re dealing with images that may suffer from both problems, like wildlife photos shot in challenging conditions.
How to Use Topaz Sharpen AI:
- Open your image in Topaz Sharpen AI, either as a standalone app or through Photoshop.
- Select the appropriate mode—either Motion Blur or Out of Focus—depending on the issues in your image. The AI will analyze your photo and provide real-time previews of how each mode affects it.
- Preview different levels of sharpening and use the Masking tool to refine which areas you want to sharpen.
- Apply the sharpening carefully to maintain a natural look.
Case Study: Correcting a Flying Sparrow Image with Sharpen AI
I captured a photo of a sparrow in flight, and although I initially suspected motion blur, the real issue was that the image was out of focus.
Below, you can see the before-and-after comparison. The Out of Focus panel in Sharpen AI made a difference, but it can't work magic!
While this is an extreme example, it effectively demonstrates the software’s capabilities. Admittedly, I wouldn’t typically use this photo, but I chose it specifically because the difference is easy to see.
 Sharpen AI showed that the image was out of focus, not suffering from just motion blur. One for the trash can, but I used it as an example as it was easy to see in a small screenshot
Lightroom Techniques for Tackling Motion Blur
Lightroom’s Detail panel gives you precise control over sharpening your wildlife images. By adjusting the Amount, Radius, and Detail sliders, you can fine-tune the sharpness while avoiding artifacts.
How to Sharpen in Lightroom:
- In the Develop module, navigate to the Detail panel.
- Adjust the Amount slider to increase the intensity of the sharpening.
- Use the Radius slider to control the size of the sharpening effect—smaller values for fine details like fur or feathers.
- The Masking slider is essential for wildlife photography. Hold Alt/Option while dragging the slider to see which areas will be sharpened. Focus on sharpening the subject without affecting the background.
 The sharpening controls in Lightroom
Selective Sharpening with the Brush Tool
For even more precision, use Lightroom’s Adjustment Brush to apply sharpening only to key areas, such as the animal’s eyes, beak, or detailed features. This allows you to sharpen the subject without introducing noise or harsh edges in other areas.
How to Use the Brush Tool:
- Select the Adjustment Brush in the Develop module.
- Increase the Sharpness setting and paint over the specific areas you want to enhance.
- Combine this with Noise Reduction to smooth out any unwanted artifacts, especially in high-ISO images.
Dealing with Low Light and Long-Distance Shots
If you frequently find yourself working in low light or shooting from a distance, these techniques will help you overcome the challenges:
Sharpening Long-Distance Shots
When you’re shooting from far away, atmospheric effects and lens diffraction can soften your image. Photoshop’s High Pass Filter is an excellent tool for enhancing sharpness without making your photo look unnatural.
How to Use the High Pass Filter:
- Duplicate your image layer and convert it to a Smart Object.
- Apply the High Pass Filter by going to Filter > Other > High Pass.
- Set the Radius to highlight sharp edges (around 2-3 pixels works well).
- Change the blend mode to Overlay or Soft Light to improve sharpness while maintaining a natural look.
Handling Noise in Low Light with Denoise AI
 The Red Kite photo on the left has not been processed, on the right it has been sharpened and denoised in Lightroom. (This is an enlarged section of the photo)
Low-light conditions often result in noisy images, especially when you’re shooting with high ISO settings.
Lightroom’s new Denoise AI uses machine learning to intelligently reduce noise while preserving the finer details in your wildlife subject.
How to Use Denoise AI:
- In the Develop module, find the Denoise option under the Detail panel.
- Click on the Denoise button to let Lightroom analyse your image.
- Adjust the strength of the noise reduction to find the perfect balance between reducing noise and retaining detail.
- Lightroom will generate a new DNG file with the noise reduction applied, preserving your original image.
Pro Tip: After applying Denoise AI, you can still fine-tune your image using the sharpening and detail sliders to ensure your subject remains sharp and natural-looking.

About the Author
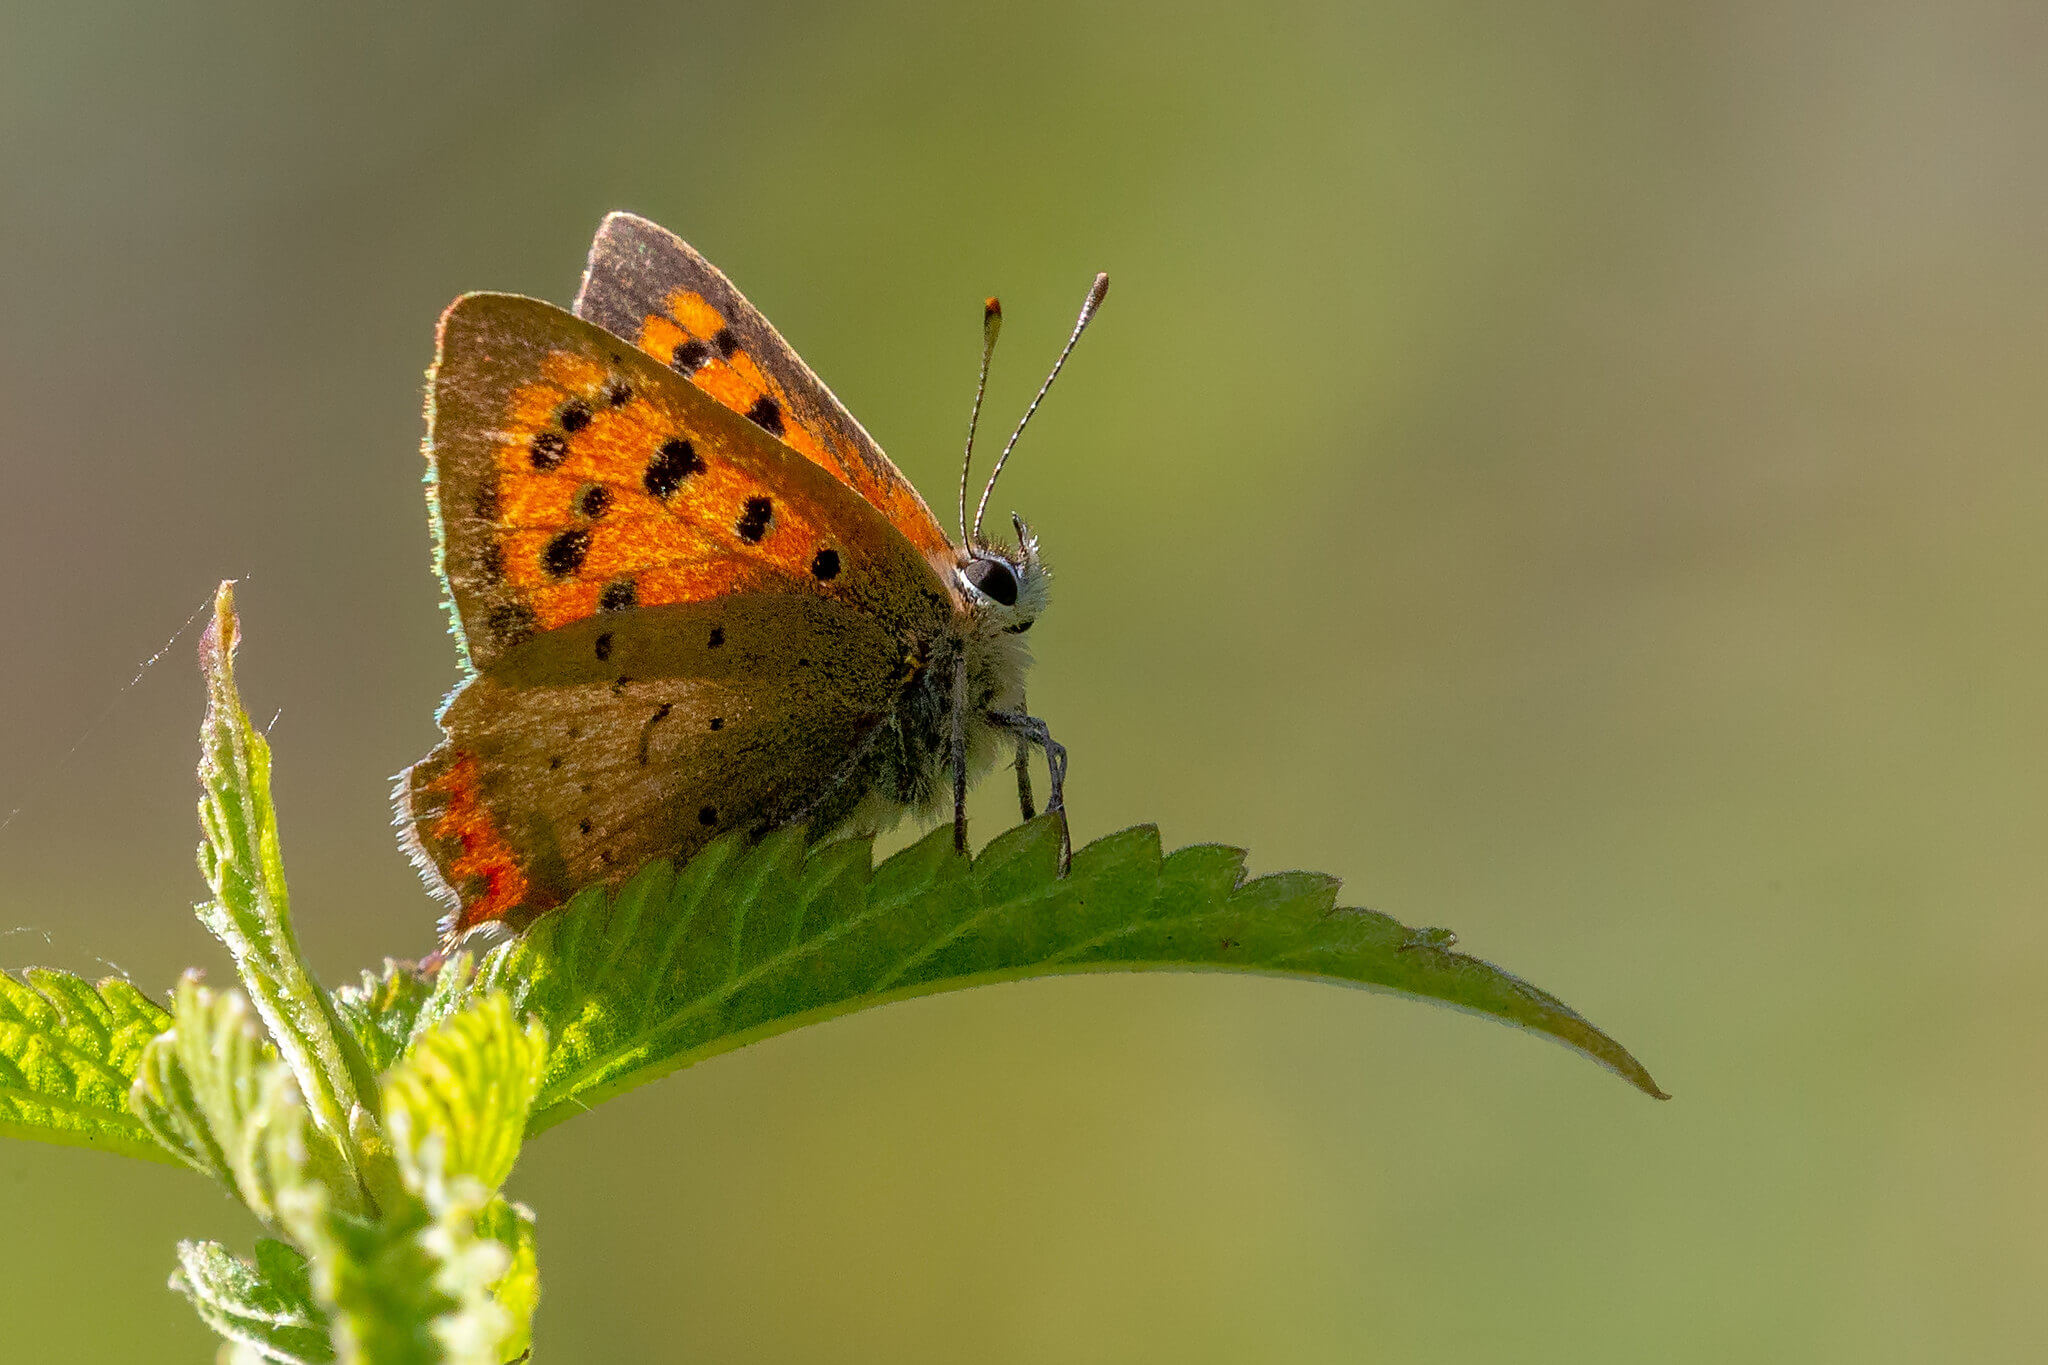
For me, it’s never been just about bird names or camera settings. It’s about the quiet thrill of understanding the story unfolding in front of you. The moment a "weed" becomes a butterfly nursery, or a distant speck resolves into a hunting kestrel.
My camera is the tool I use to capture that magic, but my real passion is sharing it. This site is my digital field notebook, my collection of trips, and my invitation to you to stop, look a little closer, and find your own connection to the incredible nature on our doorstep.
Step Behind the Wild Lens
If you've enjoyed your time here, the journey doesn't have to end.
I send out the Wild Lens newsletter on an occasional basis. It's where I share my latest field notes, the stories behind my favourite photos, and practical tips that don't always make it onto the site. It's your dose of quiet magic, delivered right to your inbox.
Join our community of curious explorers.
Recent Articles
-
How I Stopped Taking Boring Photos: My Guide to Low-Angle Photography
Aug 13, 25 10:19 AM
 Feeling disappointed with your wildlife photos? This is the story of how I learned to use low-angle photography to go from boring shots to real connection.
 -
Prime Lens vs Zoom Lens: A Guide to Choosing Your Approach
Aug 04, 25 07:40 AM
 Feeling frustrated by your camera? Learn the real difference between a prime lens vs zoom lens. It isn't about specs, it's about your creative approach.
 -
Your Window on the Wild: Choosing a Lens for Nature Photography
Aug 04, 25 07:40 AM
 Think you need a bag full of expensive kit? Not at all. Let's have a simple, down-to-earth chat about which lens for nature photography will serve you well.
Explore More Nature Walks, Wildlife and Photo Tips
How To Edit A Wildlife Photo: Post Processing Techniques for Wildlife
An intro to learning how to edit a wildlife photo and techniques that will help your photos look their best while still appearing natural and authentic.
A Histogram in Photography - How to Read and Interpret It
Learn the vital role of a histogram in photography to achieve correct exposure, so you can adjust for underexposed or overexposed shots with confidence
How a Reluctant Teenager Discovered Ideas for Autumn Photography
A reluctant teenager on a nature walk discovered how to see the stories of autumn and use a camera to capture them. A heartwarming tale with simple photo tips.


Copyright © 2018- naturewalkswithcarol.com All rights reserved
Home | About Me | Contact Me | Blog | Privacy Policy